
At first, installing a wooden door on an existing doorframe may seem like something you’ll need to outsource to a licensed carpenter. However, it is possible to do it yourself if you have the proper instructions and the right tools. Our experienced handymen jump in with some insight and expert tips to help you with this home carpentry project. Follow the steps below to replace any interior wood door in your home without the help of a professional.
Check also: 5 Easy Furniture Repairs You Can Do By Yourself
If you still have the old door, then it’s best to take its measurements.
Take Measurements & Purchase New Door
When replacing your old door, it is essential to buy a door that is close to the size of your old one. And remember – you can always trim off the excess wood, but you can’t add more.
You will need:
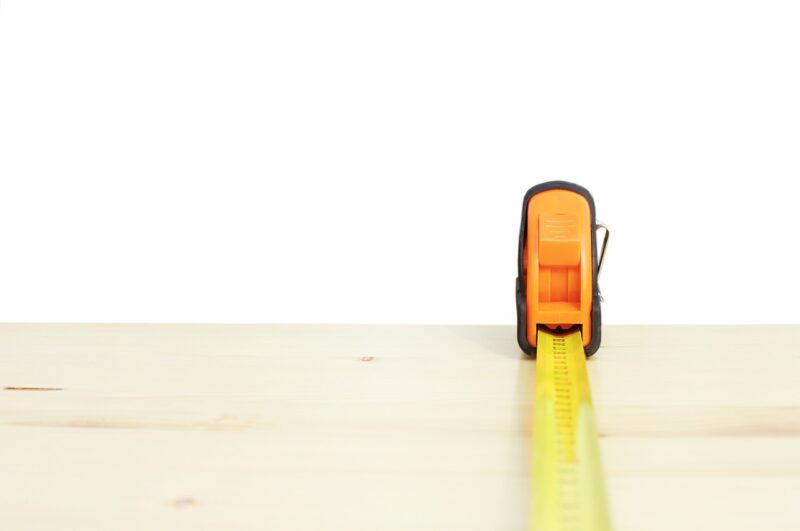
- Tape measure
- Spirit level
- Set square
- Pencil
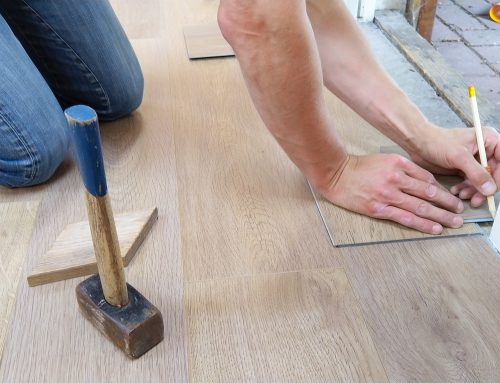
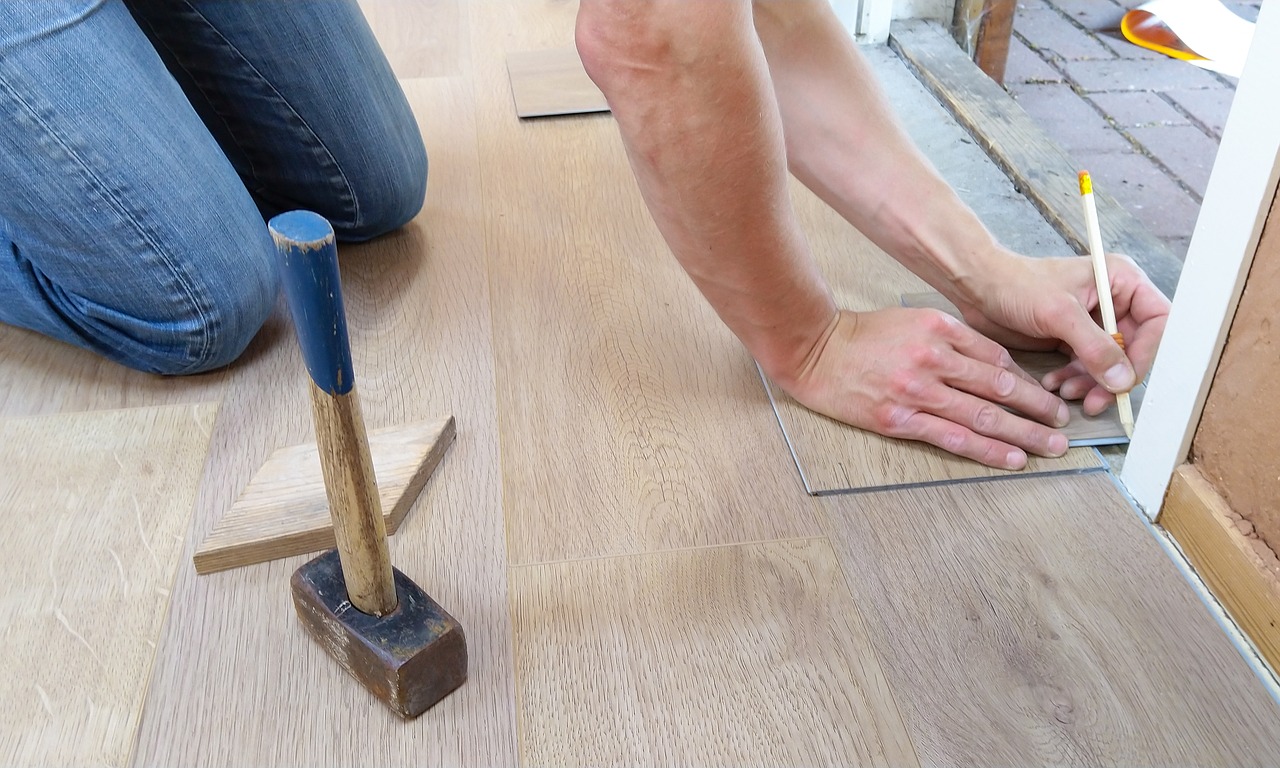
When installing a new door on an existing doorframe, the easiest thing to do is measure your old door. In case you don’t have the old door, you can measure the door frame from within. Take both the width and the height of that space. Also, note the places of the handle and the latch. After getting the new door, place it onto a flat surface and ensure it’s the right way around. Usually, a printed sign shows which side should be towards the latch and which – towards the hinges. Transfer the width measurement onto the door and mark it with your pencil. Then, transfer your doorframe length measurement and make at least 3 marks along the length of your new door. Connect the marks using the pencil and a long piece of wood or your spirit level. Use your level to check if the doorframe is plumb and square.
Read also: How to Paint Doors and Window Frames With Ease
You can always trim the excess material, but you can’t add new wood to your door.
Trim the Excess Wood
If the door is longer or wider, or the doorframe isn’t plumb and square, you’ll need to make some adjustments.
You will need:
- Sandpaper
- Clamps
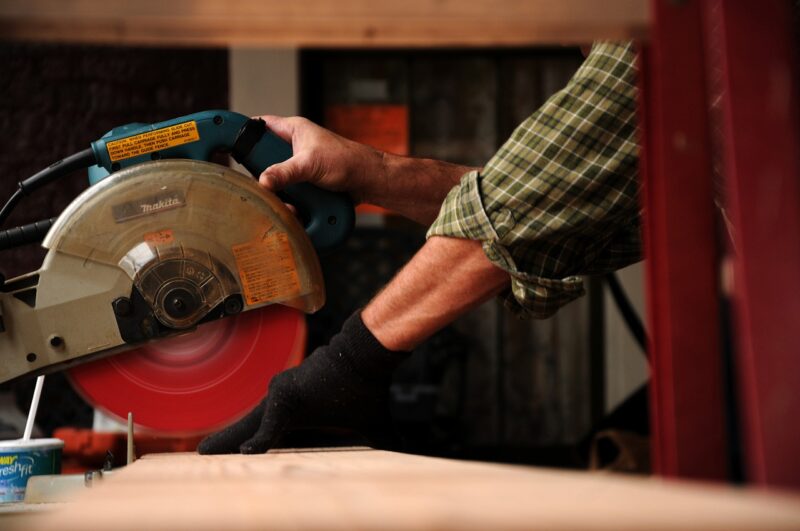
- Circular saw
- Electric planer
- Hand saw
- Wedges
- 2 x 2p piece
It is best to cut the excess material from the bottom of the door to achieve the desired height. Trim the door using the circular saw and sand the edges. Remove the extra wood from the door’s width with the electric planer, applying firm, even pressure as you go. Use a piece of sanding paper to smooth out the edges. It would help if you left a small gap between the new door and the doorframe. This is where the 2p pieces come in very handy as they are the perfect width, so you should easily slide the coin in the gap. Put the door straight into the frame and support the door from the bottom using wedges. Then slide one coin on the top of the door and the other on the side. If you are happy with the spacing, mark the position of the hinges.
Check also: How to Prepare the Area for DIY Kitchen Units Installation
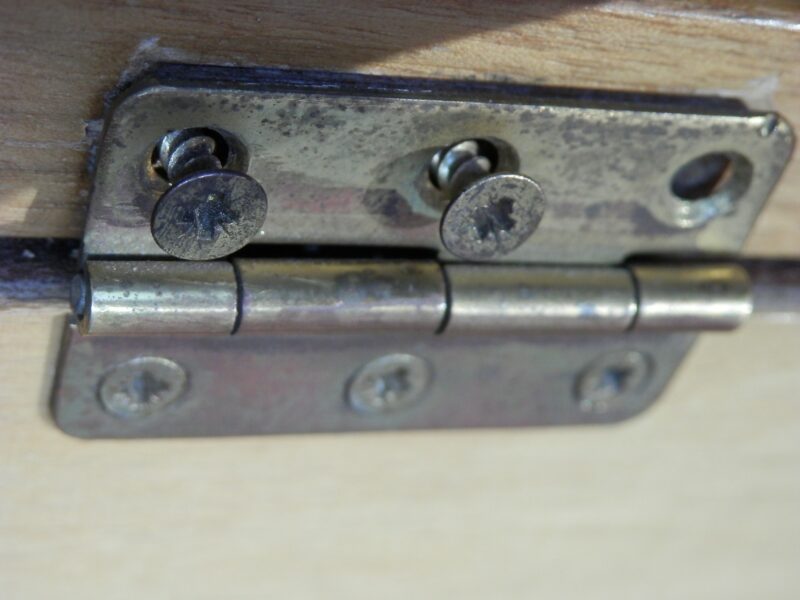
It’s okay to use your old hinges, however, it is better to replace them if they are too old, rusty or worn out.
Install the Hinges
It is time to check where the hinges will be and chisel a bit of the material so that you can install them.
You will need:
- Drill
- A set of drill bits
- Screwdriver
- A set of wood chisels
- Wood Hammer
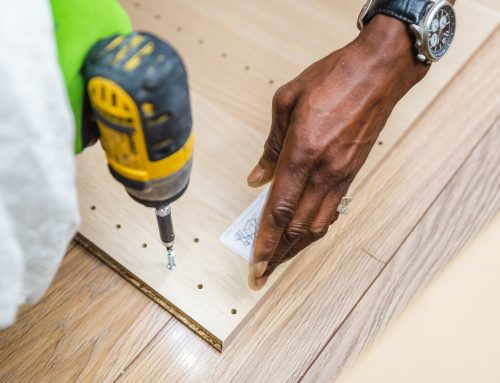
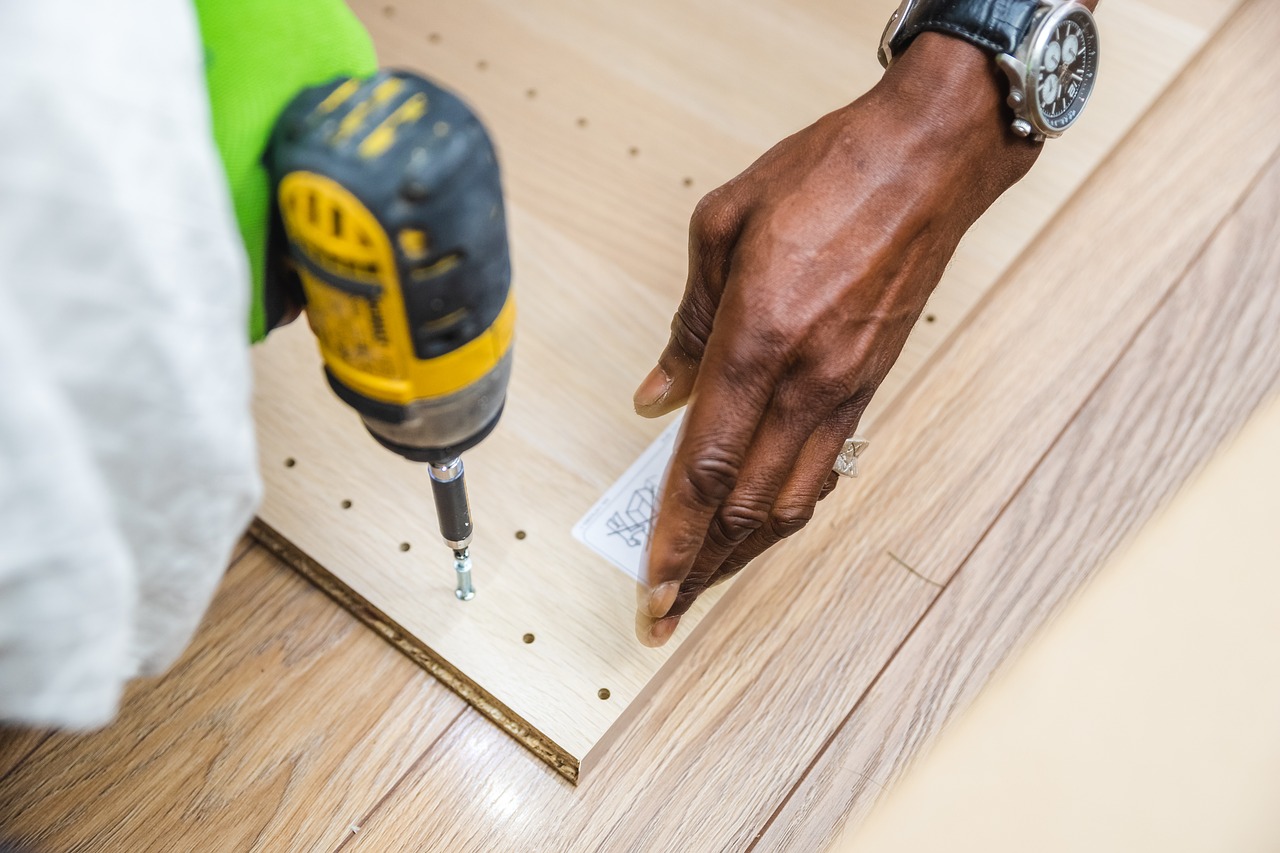
Put the door in the frame and mark the bottom of the hinge positions on the door. Then take down one of the hinges, lay it over the door and outline it over all the marks with a pencil. Chisel around the outline of each hinge – carefully cut at 5mm intervals to avoid splitting the wood. Use the chisels flat down to remove the excess. Mark the spots where you will insert screws for the hinges, then drill your pilot holes. Screw all hinges to the doorframe. It might be helpful to call somebody to hold the door in the correct position for you. Otherwise, you use wedges to support it. Insert the middle screws into each hinge. Remove the supports and check if the door fits and opens/closes properly. If everything is fine, drill the remaining screws in place.
Read also: How to Measure Any Room for Wood Floor Fitting Like a Pro
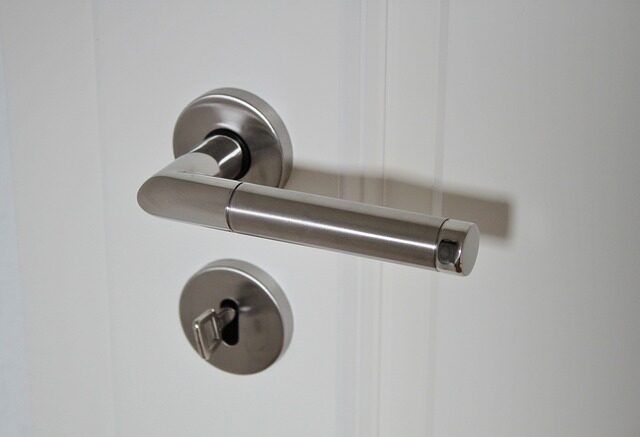
Always test if the handle and latch work properly before fixing them onto your new door.
Door Handle & Latch
This last step might seem a bit complex, but don’t worry – we got you! Follow the instructions below, and you will find that fixing the door handle and latch is something you can do by yourself.
You will need:
- Masking Tape
- Door handles
- Fixings (screws, latch bar, etc.)
- Latch
- Flat bit slightly larger than the latch (22mm is the standard)
- Flat bit 13 mm
Check also: 10 + Reasons Why You Should Change The Locks Immediately Part 2
Measure and Prepare for Installing the Latch
Outline the centre of the strike plate with the pencil onto your door. Transfer the marks for the handles and latch with a set square. Mark the centre of the door edge. Mark the depth of the latch onto the flat bit with the masking tape. Use the wedges to hold the door steady and drill to the correct depth. Insert the latch bolt into the hole and use a pencil to outline it onto the door. Chisel the outlined area 1 or 2 mm – enough, so the metal plate is perfectly lined with the edge of the door. Lay the latch bolt over the door and mark the places for the screws, and drill pilot holes. Use a countersink bit to allow for the back of the latch plate.
Installing the Latch Bar & Door Handle Plate
Lay the latch bolt over the door and mark the position for the latch bar. Then drill a hole for the bar from both sides to avoid splintering. Place the latch bolt into place, check if you can insert the latch bar and drill the screws to fix the plate. Next, put the handle plate onto the door and make sure it falls onto the hole for the bar. Use the level to make sure the part is straight, then outline it and mark the spots for the screws with your pencil. Drill the pilot holes. Put the screws and tighten them to fix the plate. Repeat this for the other handle plate.
There, you have it – you have just installed a new door by yourself like a pro!
