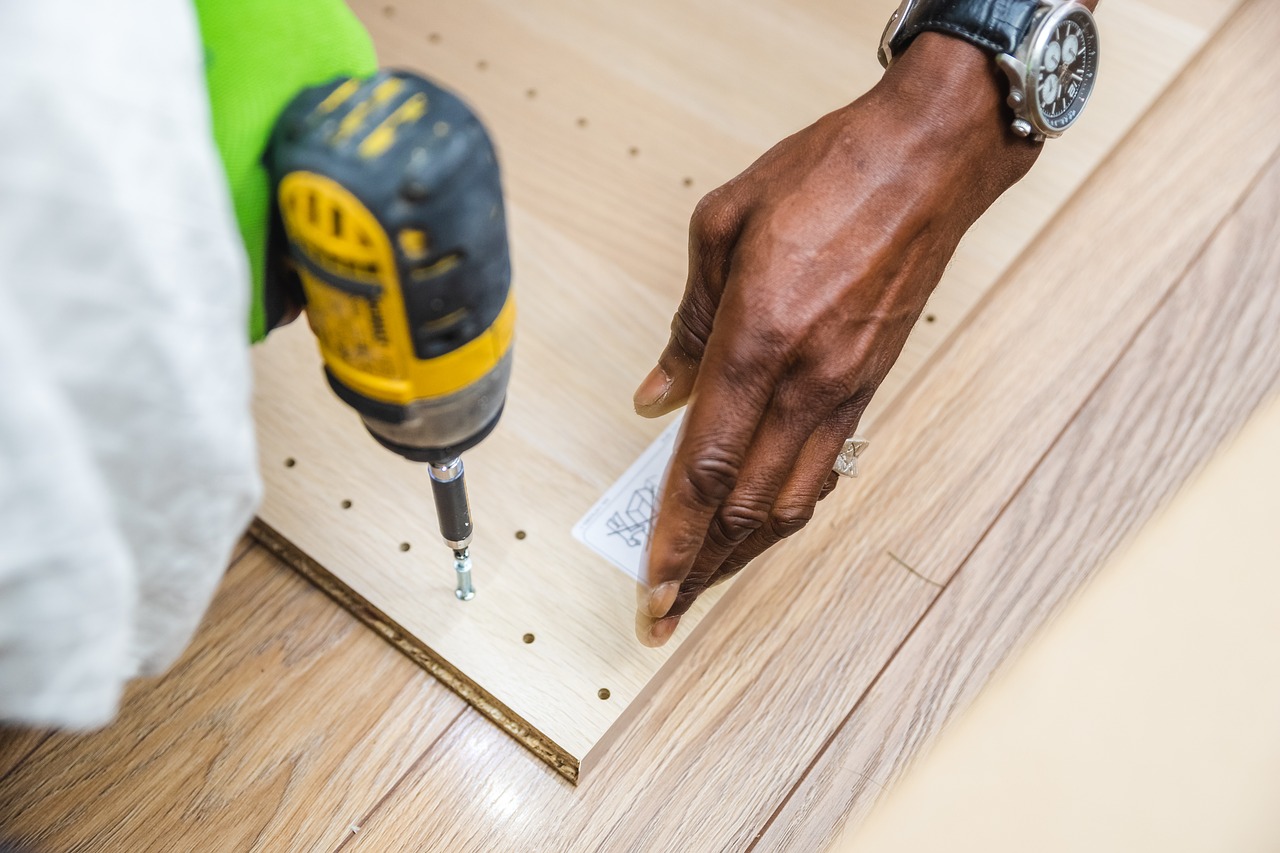
Most people think the hard part of carpentry projects is cutting and assembling the pieces. However, these tasks are pretty easy if you do a good job measuring the space and calculating the materials you’ll need before you start putting everything together. Today, we will share a fool-proof way to measure the room and the boards for wood floor installation. Be it laminate or hardwood; this method will help you achieve a beautiful and solid result.
Read also: How to Prepare Your Home for DIY Kitchen Units Installation
Choose a Direction for Laying the Boards
Every successful home improvement project requires preparation and planning, and floor fitting doesn’t make an exception. So before you reach for the tape measure, take some time to imagine the final result and decide which way you want to lay out the boards. The direction in which you’ll install the flooring will visually transform the room similarly to choosing colours when painting. So, if you place the boards alongside the longest wall, the room will look longer. If the room is too narrow, you can make it look wider by laying the floor widthwise. Also, putting the boards towards a light source will make the joints less visible. However, suppose you install the flooring over an old floor. In that case, it is best to lay the boards in the opposite direction, making the final result more sturdy and stable.
Check also: 5 Easy Steps to Make Your Furniture Sturdy And Prolong Its Life
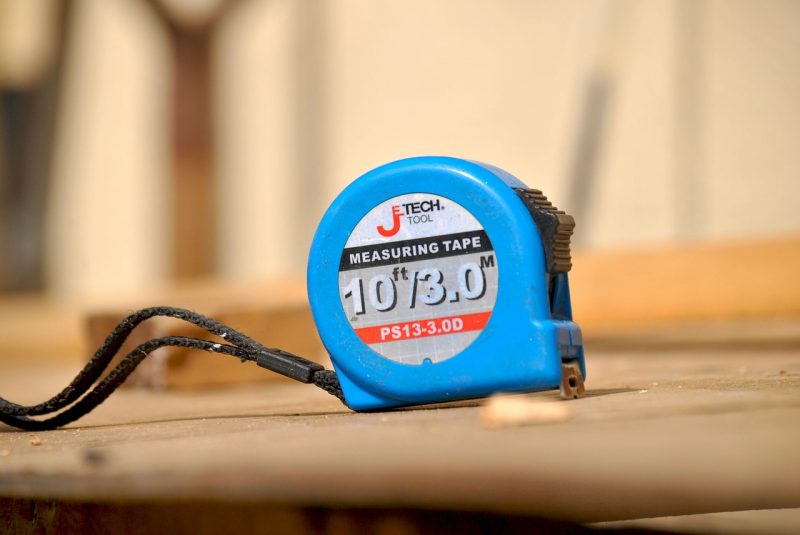
Use a tape measure before fitting the flooring to see how much material you’ll need.
Set Out & Measure
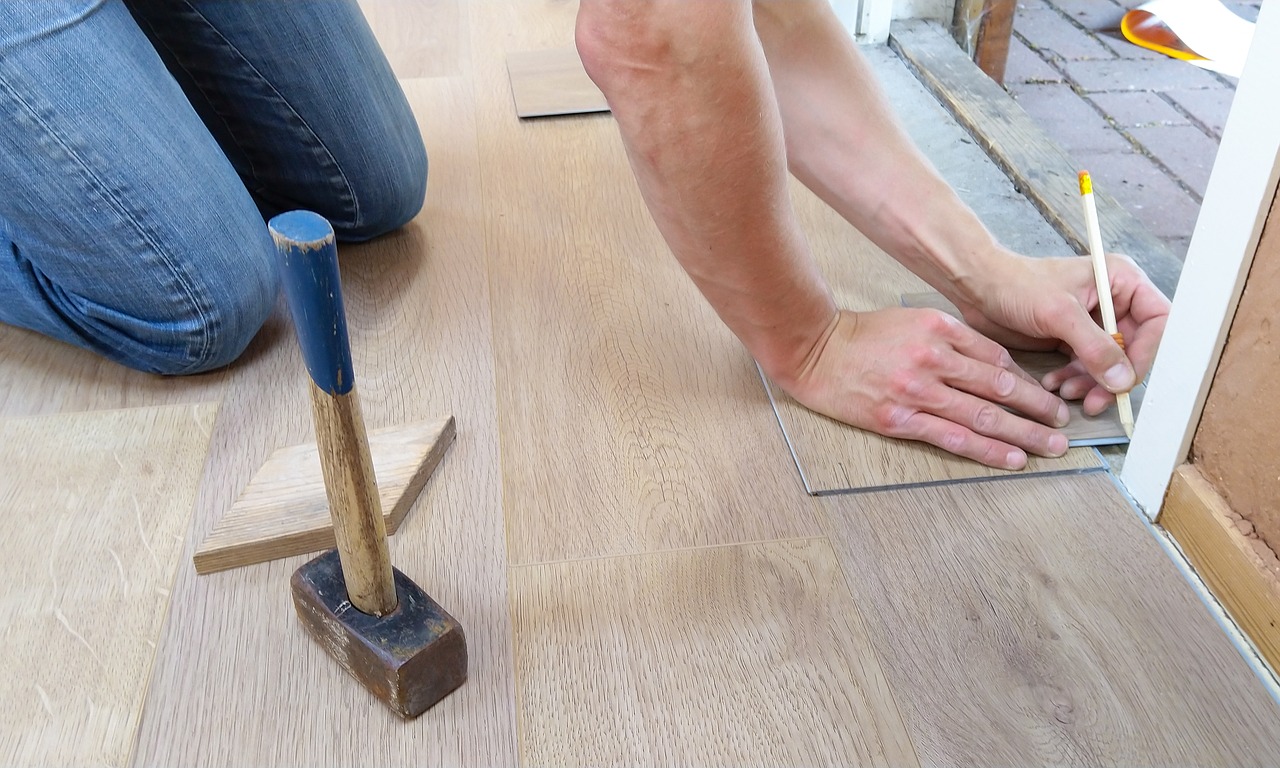
Laying out the board in advance will help you understand how the flooring will look when installed. Both laminate and solid wood floors expand and contract due to the room’s change in temperature and humidity during different seasons. Professional carpenters recommend leaving a 15 mm distance next to each wall.
Read also: 5 Easy Furniture Repairs You Can Do By Yourself
The First Row
Set out the first row leaving a 15 mm expansion gap next to the wall. Check what will be the length of the last board. If the piece is too short, it might be tough to cut and install it later. The way to fix this is to trim a part of the first board, so there are no very short planks. This length will be the length of each row if your room has a regular shape. If not, you’ll need to trim the rest of the boards that need adjusting using the same method.
Check also: The 5 Most Common Planning for Renovation Mistakes and How to Avoid Them
The Rest of the Rows
Next, you’ll have to figure out how many rows you’ll have. Again, you don’t want to have a narrow strip of wood at the end of the room. It is too difficult to cut the material, but having a slim row close to the walls looks off as it gives an untidy appearance to the floor. There’s a simple calculation you can use to prevent this issue. If you divide the room’s length by the width of the boards, you’ll get the number of rows you’ll have and the leftover width of the final panel. Don’t forget to include a 15 mm expansion gap in your calculations. If the last row turns out to be less of a third of a board, it’ll be easier to cut out the panels of the very first row as well, so the boards aren’t too narrow.
Read also: 6 Tools for Easy and Fast DIY Furniture Assembly
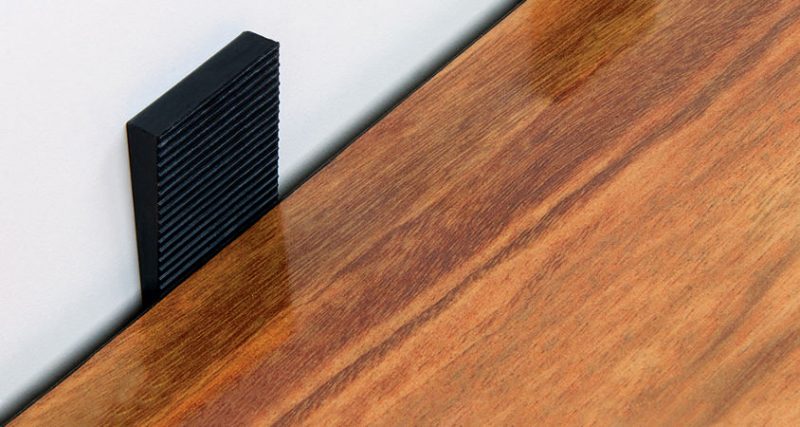
Use expansion spacers to make sure all the gaps you leave are of equal width.
Planning for Obstacles
Finally, you should look out for obstacles like radiator pipes or bearing columns. If you have to install wood flooring around pipes, cut holes for the pipes in the boards. It is easier and tidier if you make sure the pipe falls in the middle of the board’s length or width rather than a joint. Set out, measure, and trim the panels accordingly. And, here’s the easiest way to make sure you’ll leave exactly 15 mm gaps – all you need to do is use a 15-millimetre expansion spacer. Place the spacers at the end of the board and equal intervals along.

