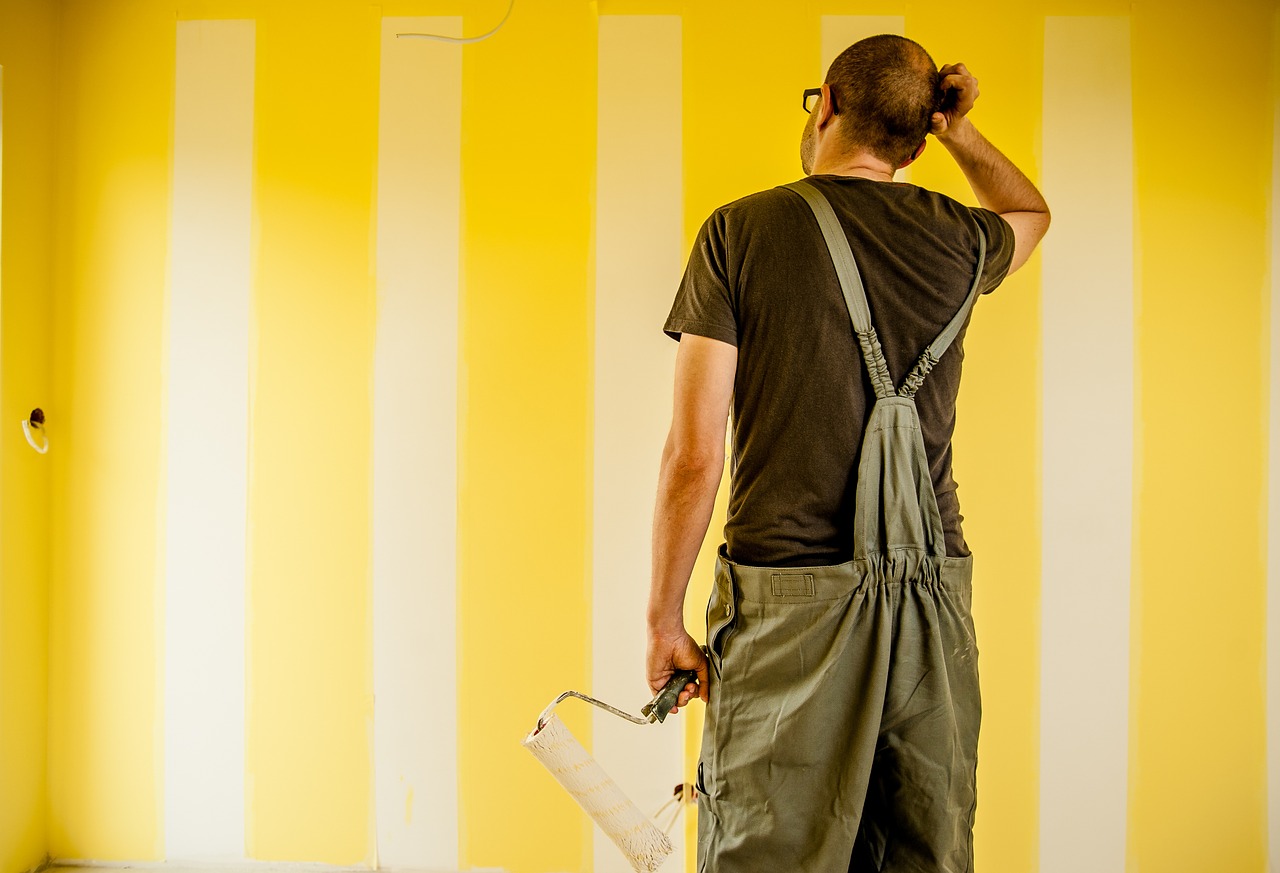
Painting any room is a time-consuming chore. However, if you put in the time to prepare the space in advance, you will find out working is easier, and the result is better. The three key measures are to start with a clean slate, allow plenty of space to work, and create perfectly smooth surfaces. The following professional painting and decorating tips will help you prepare any room efficiently so you can complete every project you tackle.
Read also: The 5 Most Common Mistakes When Planning a Renovation (and How to Avoid Them)
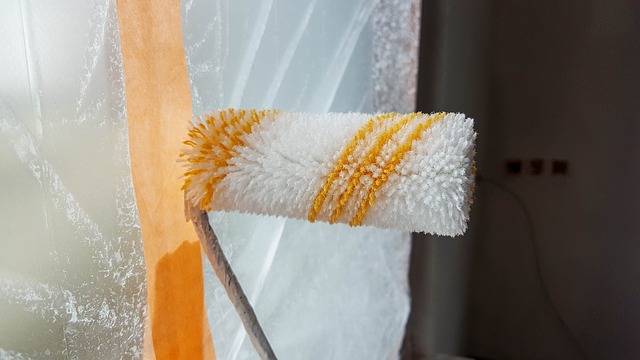
Protect your windows from splashes and drips of paint.
Preparation of the Area
A lot of the things you have to do to ensure the success of the painting and decorating project happen before you even dip your brush in the paint.
Check also: Useful Tips When Hiring a Local Handyman
Furniture
No matter how careful you are, painting is a dirty job. The best things you can do is to move as much of your furnishings as you can in another room. However, if your space is limited or the furniture is too large or fixed, you can cover it with large plastic sheets or drop cloth. Moving furniture will also give you more elbow space and ease your work. Of course, any art hanging on the wall should also be removed.
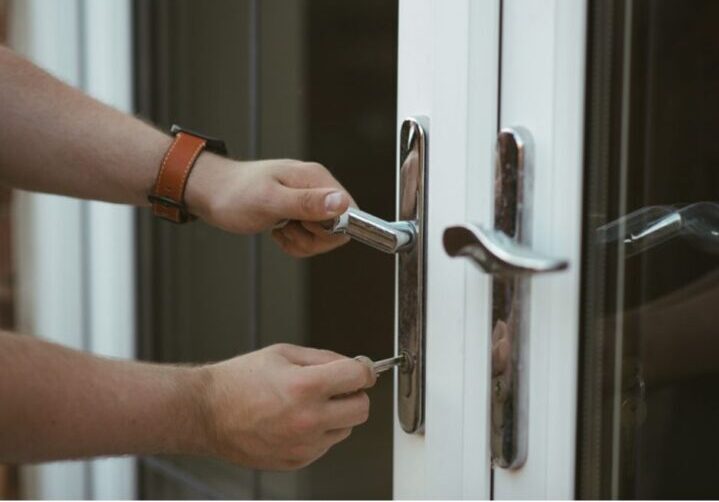
Switches and Sockets
Removing everything from the walls will ensure smooth and even coverage. Before you start painting, you should deinstall all of the light switches, power plugs and other wall fixtures. If this isn’t possible, make sure to cover them with plastic wrap or painter’s tape.
Light
Any home repair project needs good lighting to be a success. If there is not enough light in the room, you plan to redecorate you should bring in a lamp, or even – a few lamps. Using additional lighting will also help you see if the walls are well prepared for painting as the light casts shadows on any uneven surface.
Ventilation
Make sure space could be well-ventilated throughout the whole project the windows should be accessible to open. In some cases, you might need to use fans. Keeping the room warm in the cold weather and having a fan blowing always speeds up the drying process. If the day is damp, it takes much longer for the paint to dry well.
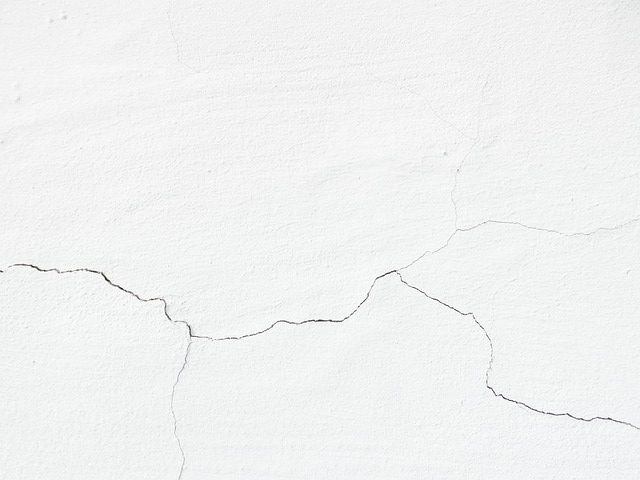
Fill in the cracks before applying the fresh coat of paint.
Preparation of the Walls
Preparing the surfaces guarantees the fresh coat of paint adheres better, and the walls look amazing.
Read also: The Benefits of Hiring a Handyman
Even the Painting Surface
Scrape off loose or peeling paint with a putty knife. Sand the scraped areas with 220-grit sandpaper, so they are levelled with the surrounding surface. Remove debris and dust from nail holes, cracks, and fissures with a toothbrush or small wire brush. Use lightweight spackling compound to patch small holes and cracks. Press the spackling mixture over the surface imperfections using a putty knife and make sure the spackle fills in the gaps. Let the compound dry and smooth it with sandpaper. You can use drywall patching kit for larger holes and cracks. If you’re using low-gloss paint to cover high-sheen walls and ceilings, sand the surfaces to scuff up the old paint, so the new layer adheres. Use a clean cloth to wipe all sanded patches.
Clean the Surfaces
Whether you’re painting a kitchen or a bedroom, give the area a thorough dusting and cleaning. Don’t miss a spot – make sure there is no dirt, not only on the floor but also on the baseboards, ceiling and window and door frames. This way dust balls, pet hair, cobwebs or sanding residues won’t get stuck to the freshly applied paint. Make a mix of mild detergent and water and spot-clean any greasy stains on walls. For heavy-duty rooms, such as kitchens and bathrooms, you might need to use trisodium phosphate to wash the ceilings and walls and get rid of grease, food residues, or mildew. Wipe all the surfaces with a clean rag dipped in water to rinse the cleaning product and let them dry before painting. Thoroughly vacuum the carpets and floors before you cover them with plastic sheets to protect them from dripping paint.
Protect the Surrounding Surfaces When Painting Trims
A lot of handymen use a trim guard when painting baseboards, windowsills, doors and window frames. However, you should have some experience with the tool, and even then there is no guarantee that your hand won’t slip. That is why it is wise to always cover the floor and walls around the trims using painter’s tape. If you made a big mess and you feel overwhelmed consider using post builders cleaning service – sometimes you just have to admit that you cant do everything by yourself.


