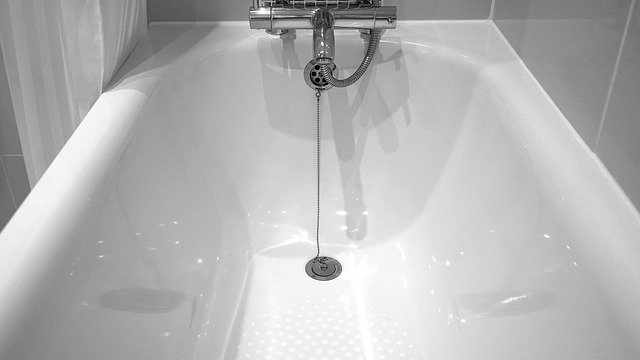
Resealing your bath is an easy way to renew the bathroom without breaking the bank, especially if the current sealant is looking worn out. Not only that, but bathroom silicone sealant also protects your bathtub from leaks, prevent water from getting underneath the tub. If water collects under the bath, this can result in flooding, rotting and mould, which can pose health risks and lead to increased repair costs.
Handyman Near me has put together this simple guide for how to reseal bathtubs properly by yourself.
Read also: How to Repair Tile Grout By Yourself
How to seal the tub – step-by-step
Before you start this project, make sure you have all the tools and materials you will need at hand:
- Safety gloves
- Safety goggles
- Masking tape
- Utility knife
- White spirit – turpentine
- Old cloth
- Caulking gun
- Silicone sealant
- Silicone applicator (or a round-headed tool)
Once you have all the materials and tools, you can start resealing the bathtub. Plan at least a few hours to complete this renovation.
Remove the Old Sealant
To remove a worn-out sealant, you will have to cut it with a utility knife, but be careful not to scratch the bathtub or the surrounding tiles. Use a flat-headed screwdriver to wedge up the sealant and pull it slowly with your hands. If there are any bits stuck to the bath or the tiles, you can gently remove them with a scraper or rub off the residues with a cloth dipped in white spirit – turpentine.
Check also: Step-by-Step Guide on Replacing the Basin Taps at Home

You can use this method to reseal some sinks too.
Tape the Edges of the Bath
After removing the old silicone, you will need to use the masking tape and mark where are you going to apply the sealant. Start placing the tape from the back corner of the bathtub – the one furthest from the bathroom door. Make sure you leave at least 3 mm between the masking tape and the wall – this will guarantee a neat finish.
Read also: 4 Useful Tips for DIY Shower Repairs
Prepare the Silicone
Before you proceed any further, you need to put on your safety goggles and gloves. Use the utility knife to cut the silicone’s tip open. Try to cut it at a 45-degree angle – this makes applying the material much easier. Put the sealant into the caulking gun.
Check also: 4 Common Plumbing Problems and How to Fix Them
Apply the Sealant
Press the caulking gun trigger to apply the sealant. Try to work as close as possible to the edge of the bathtub and the wall. Start with a smooth motion from the furthest corner (just as you did with the masking tape). This way you won’t touch any new silicone while you are working. Apply the sealant to both the tub and the wall if possible.
Smooth the Applied Sealant
Drag the sealant applicator along the silicone to smooth it over. If you don’t have this tool, you can use the back of a teaspoon or simply wet your fingertip and work with it. When you shape the edges, the sealant will shed water back into the bathtub – especially if it is a shower bath. Also, smoothing the sealant prevents dirt and mould getting behind it and the wall. Remove the masking tape when the silicone starts to set slightly but before it’s completely hardened. The sealant can take up to 24 hours to set, so it is wise to make sure your bathtub is off-limits for this period.


