Radiator valves’ function is to control and isolate the liquid flow within a heating system. If you’re having difficulties getting your radiator to heat up sufficiently, this could be due to a damaged radiator valve. To replace the faulty radiator valve without the help of a handyman specialised in heating systems, follow these simple steps.
Read also: Replace an Old Basin Tap By Yourself in 5 Easy Steps
To Replace a Radiator Valve You Will Need:
- Spanner
- Plumber’s tape
- Wrench
- Hose
- Jubilee clip
- Wire wool
- New valve
- Old towel
Check also: 4 Useful Tips for Repairing Leaky Shower
Instructions for Replacing a Radiator Valve

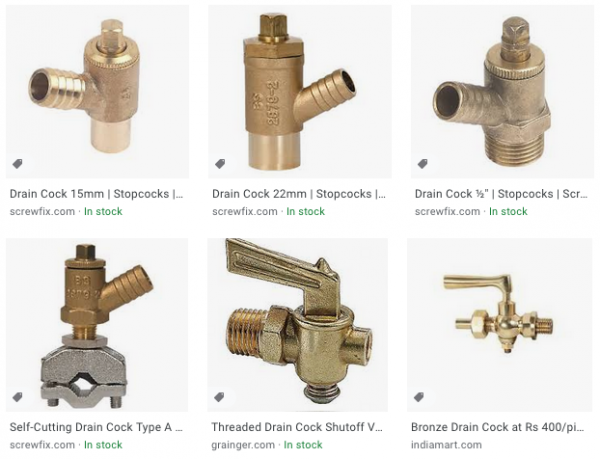
These are different types of drain cocks.
1.Drain the heating system
Before you start any repairs on your central heating system (or any other plumbing repair for that matter), you always have to drain it first. If you have a combination boiler, you can handle this yourself following our instructions. However, if you have a conventional boiler system, you might need to contact your local handyman for assistance. Attach a hose to the drain cock and fix it with a jubilee clip for more security. Usually, the drain cock is located at the lowest point of the pipework. Bring the hose near a sink, tub or shower and open the drain cock. The water will start running and getting out of the pipe. Make sure all the liquid has left the heating system before you proceed to the next step.
Read also: 4 Common Plumbing Issues and How to Fix Them By Yourself
2. Remove the old valve
Place a dry towel under the valves so it can catch any water that is left in the system. Hold the body of the valve with your wrench and get an adjustable spanner to unscrew the cap-nuts. Then remove the old faucet from the end of the pipe. Clean the area around the valve with some wire wool.
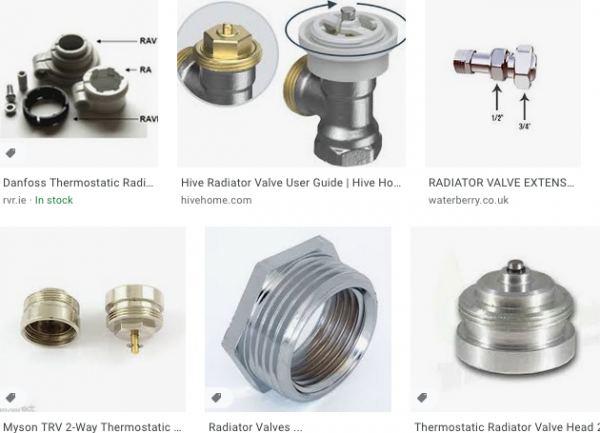
3. Remove the old adaptor
Take the adjustable spanner and use it to unscrew the old adaptor. With some types of adaptors, it may be easier to use a hexagonal radiator spanner. Clean the area directly surrounding the part with wire wool.

And here are different types of radiator valve adaptors.
4. Fit the new adaptor
Screw the new adaptor to its place and tighten with a spanner if necessary. You can use plumber’s tape to wrap the pipe before screwing the adaptor.
5. Fit the new valve
Slide the cap-nut and sealing components over the end of the pipe and then attach the new valve. Do not tighten the cap-nut at this point. Align the valve with the adaptor using the wrench. Now that the parts are aligned you can tighten the cap-nut that holds everything together. Tighten the cap-nut which holds the new valve to the water pipe.
6. Refill the system
Find the filling loop; it’s usually located underneath your boiler. Turn on the valve and increase the flow until the pressure gauge reaches 1.5.
Check also: How to Find a Good Plumber?
7. Bleed the radiators
Release the air trapped in the pipes allows hot water to circulate easily. To bleed your radiators, you will need a radiator key which can be found in every home improvement and DIY store.
8. Refill the system
Once you’ve removed tall rapped air from the heating system, go back to the filling loop valve and turn it up until the pressure gauge returns to 1.5 again.
If you don’t have the time to fix the problems with your heating system – don’t worry! You can count on us for the radiator valves repair in your home. Call us and book professional plumbers in London.


