Our skilled painters shared 5 ways you can avoid the most common mistakes when painting your home in our previous post. Now you can read 6 more useful tips on the topic and make sure your DIY project is a success from the first go.
Wait Before Applying the Second Coat
This is a common mistake most people do when they try to paint the house by themselves. We know that you want to tackle the task as quickly as possible. However, you need to spare some time to enjoy the best results. If you apply your second coat too soon, it could end in peeling stripes of paint or unsightly brushstrokes that will ruin all of your hard work. Check the instructions on your paint can – they should note how long to wait between applying the different coats. If you are not sure of the drying time, wait at least 12 hours.
Check also: Is Summer the Best Season for Home Refurbishment
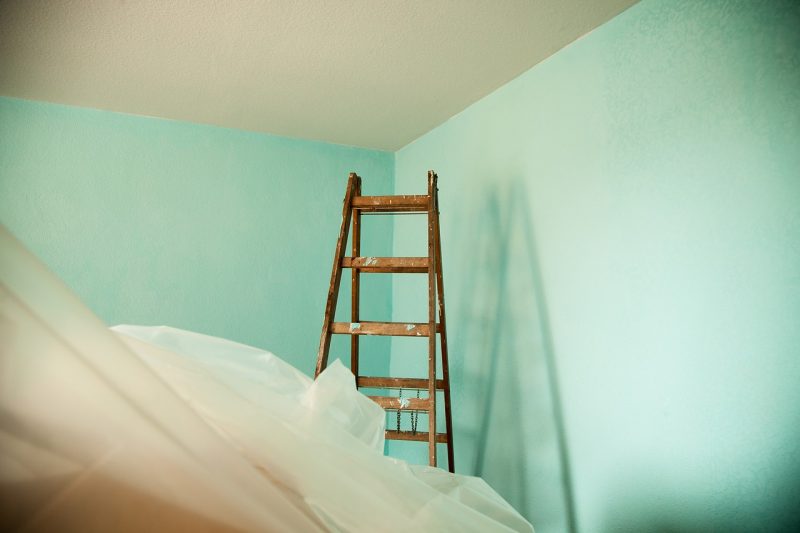
If you don’t have enough light you can always bring in some additional lamps
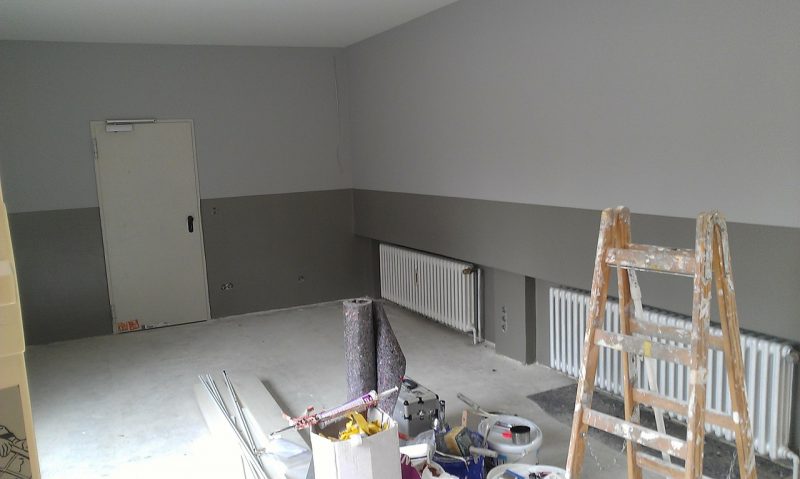
Ensure There is Enough Light
Avoid painting and decorating any surfaces in dim light. The painted area may look fine at first sight. Still, when you turn on bright lights or uncover the windows, it’s likely to see thin patches, uneven spots, visible brush strokes and other imperfections. Always make sure there is enough light in the area where you work. If you have to bring in additional lamps in the room.
Read also: How to Avoid 5 Common Mistakes When Planning a Renovation at Home
Never Roll Only in One Direction
To avoid overlaps and marks on your ceiling paint job, it’s crucial to “keep a wet edge.” Work in sections about five or six square feet. Move fast from one area to the next to ensure the paint near the edges doesn’t dry before applying the paint onto the adjoining section. When you apply the second coat, re-roll each section at a 90-degree angle to your first roller direction.
Read also: Why You Need to Hire a Professional Handyman
Achieving flawless results when painting the ceiling is easy when you know this trick.
Learn How to Avoid Bumping the Ceiling or the Floor
One moment of distraction is all it takes to bump the ceiling with your roller. This often leads to a tricky touch-up job. You can easily avoid this mistake by applying a couple of horizontal strips of paint on the top of the walls parallel to the ceiling. Continue by moving your roller vertically upward to the horizontal stripes. All you need is a 9 inches wide section of paint next to the top, and you will have a big enough buffer zone. You can apply the same tactic to prevent touching the ground – apply a horizontal strip of paint along the floor or the baseboards and then keep on with the rest of the surface. This way, you will avoid picking up hair and dust with your roller and spreading on the fresh coat of paint on the wall.
Check also: The Duties of a Handyman
Always Clean the Walls
Have you ever noticed dust or hair stuck to the wall after you have finished painting? Or perhaps you found spots that look rippled? This can happen when you forget to clean the walls before you start painting. To avoid such issues, you need to prepare the room, which includes thorough cleanup of the surface you are about to paint. First, swipe a broom over the walls. After that, mix together a gallon of lukewarm water and two cups of white distilled vinegar and use the liquid to wash the surface. Don’t forget to clean the corners and baseboards to ensure a flawless painting job.
Read also: How to Prepare a Room Before Painting


