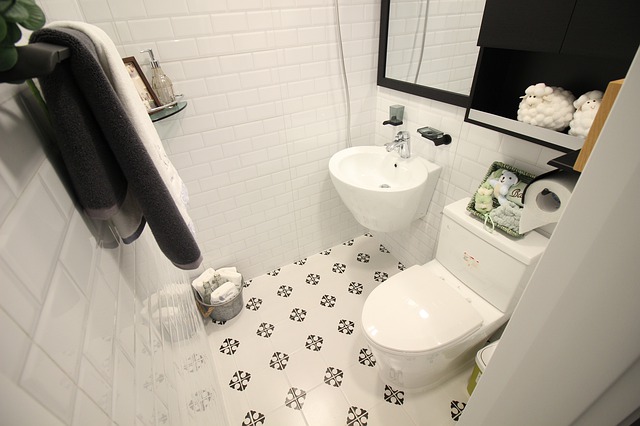
A cracked toilet can be a severe plumbing problem because sometimes the cracks are not easy to spot. Some cracks are a result of manufacturing mistakes, while others seem to develop mysteriously and start leaking. The extreme temperature change can cause more obvious cracking that runs through the porcelain. You can quickly deal with this toilet repair if there are hairline cracks on the bowl or tank and today we will tell you how to do it.
Read also: How to Find a Good Plumber
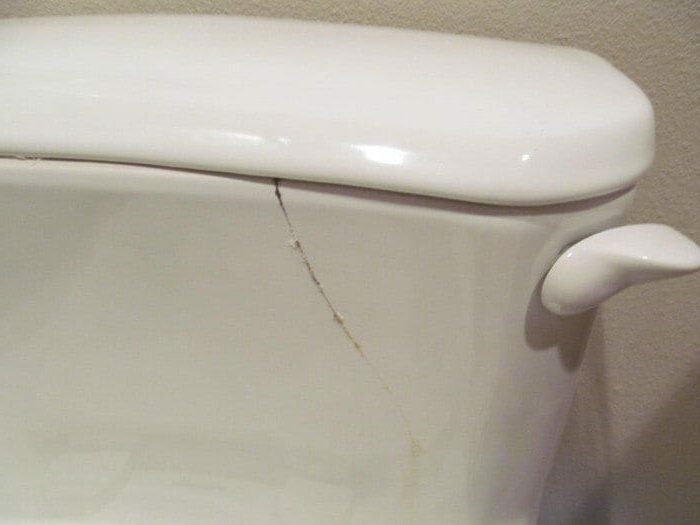
Small cracks like the one above can easily be fixed without calling a plumber.
How to Repair Cracks in the Toilet Step by Step
If there is a hairline crack in the bowl or the tank, you may be able to stop the leak by sealing the crevice with waterproof epoxy. Epoxy can be used effectively for repairing cracks at the base of the toilet, crevices or breakage around the bolts that secure the fixture to the floor. Cracks under the waterline of a toilet bowl are more difficult to repair, but you can try sealing them with epoxy. It that doesn’t work, replacing the toilet is the only option.
Materials
- Cleaning product
- Sponge
- Bucket
- Sandpaper
- Waterproof epoxy
Waterproof epoxy consists of two parts that you mix right before application. With most of these resins, you have only about 30 minutes to work before the material begins to dry up and harden. When choosing epoxy, opt for one rated for use on porcelain tubs and sinks.
Check also: How to Detect a Water Leak in Your House
Step 1: Drain the Toilet
- Turn off the water supply of the toilet using the shut-off valve under the tank. Rotate the valve clockwise until it can’t move anymore.
- Flush the toilet to empty the water from the tank and bowl.
- If there is any remaining water, you can soak it up with a sponge and wring it out into a bucket.
- Wipe the surface dry.
Read also: 4 Common Plumbing Problems and How to Fix Them
Step 2: Clean and Sand the Affected Area
- Thoroughly clean the area around the crack to ensure there is no dirt left on the porcelain.
- Use sandpaper for sanding the surface – this will roughen the enamel; sand only the spot where you will apply your epoxy resin.
- Rinse the area thoroughly and let it dry. (Although waterproof epoxy can be used on wet surfaces, it is usually easier to work on dry porcelain.)
Check also: How to Change the Old Basin Tap By Yourself

You can use this technique to repair cracks on your sink too.
Step 3: Prepare and Apply the Epoxy
- Mix the two components of the epoxy (catalyst and resin) by following the instructions provided by the manufacturer.
- Apply the ready epoxy to the crack immediately using a putty knife or spreader. Smooth and flatten the resin as much as possible.
- You must apply and work the resin within the material’s working time, usually between 15 to 30 minutes.
- Let the resin harden for as long as recommended by the manufacturer. (To be safe you can let the epoxy cure overnight.)
Read also: How to Repair Cracked Grout at Home
Step 4: Refill the Toilet with Water and Test
- Open the shut-off water valve by turning its handle all the way counterclockwise until the toilet tank is full.
- Flush the toilet and check if there are any leaks.
Check also: How to Reseal the Tub at Home
Whatever the cause of a crack in the toilet, the first step toward a repair is locating it. After that, you need to assess whether or not it can be repaired. Most hairline cracks can be fixed with waterproof epoxy. Larger cracks or crevices that penetrate entirely through the bowl usually cannot be fixed. In that case, you should consider replacing the toilet.


